The Produce Delivery Vehicle
Summer began, and my friend Javid Alasti and I were out in the garage gazing at my Jeep engine when we heard a knock at the door. My neighbor swung by to propose that we build him a vehicle that better suits his need of locally delivering his home grown lettuce and other fresh vegetables. He needed something that would be better than his current wagon-scooter solution, and we told him we were the guys for the job. With that, we would set meetings to get a better idea of exactly what he wanted.
Goals
Build a utility vehicle that ergonomically suits client
Have good torque through all operating speeds
Reserve area for produce and cargo
Clean end result, must look professional
Responsibilities
Ensure clear communication with client
Meet desired specifications
Keep track of cost, stay within tight budget
Time Line
June 2020 - July 2020
Initially Agreed Upon Parameters
Power system
Lithium Ion batteries, cheap, light, modular, logical
1500 watt controller + motor combo, anything more powerful, and the price for parts grows exponentially
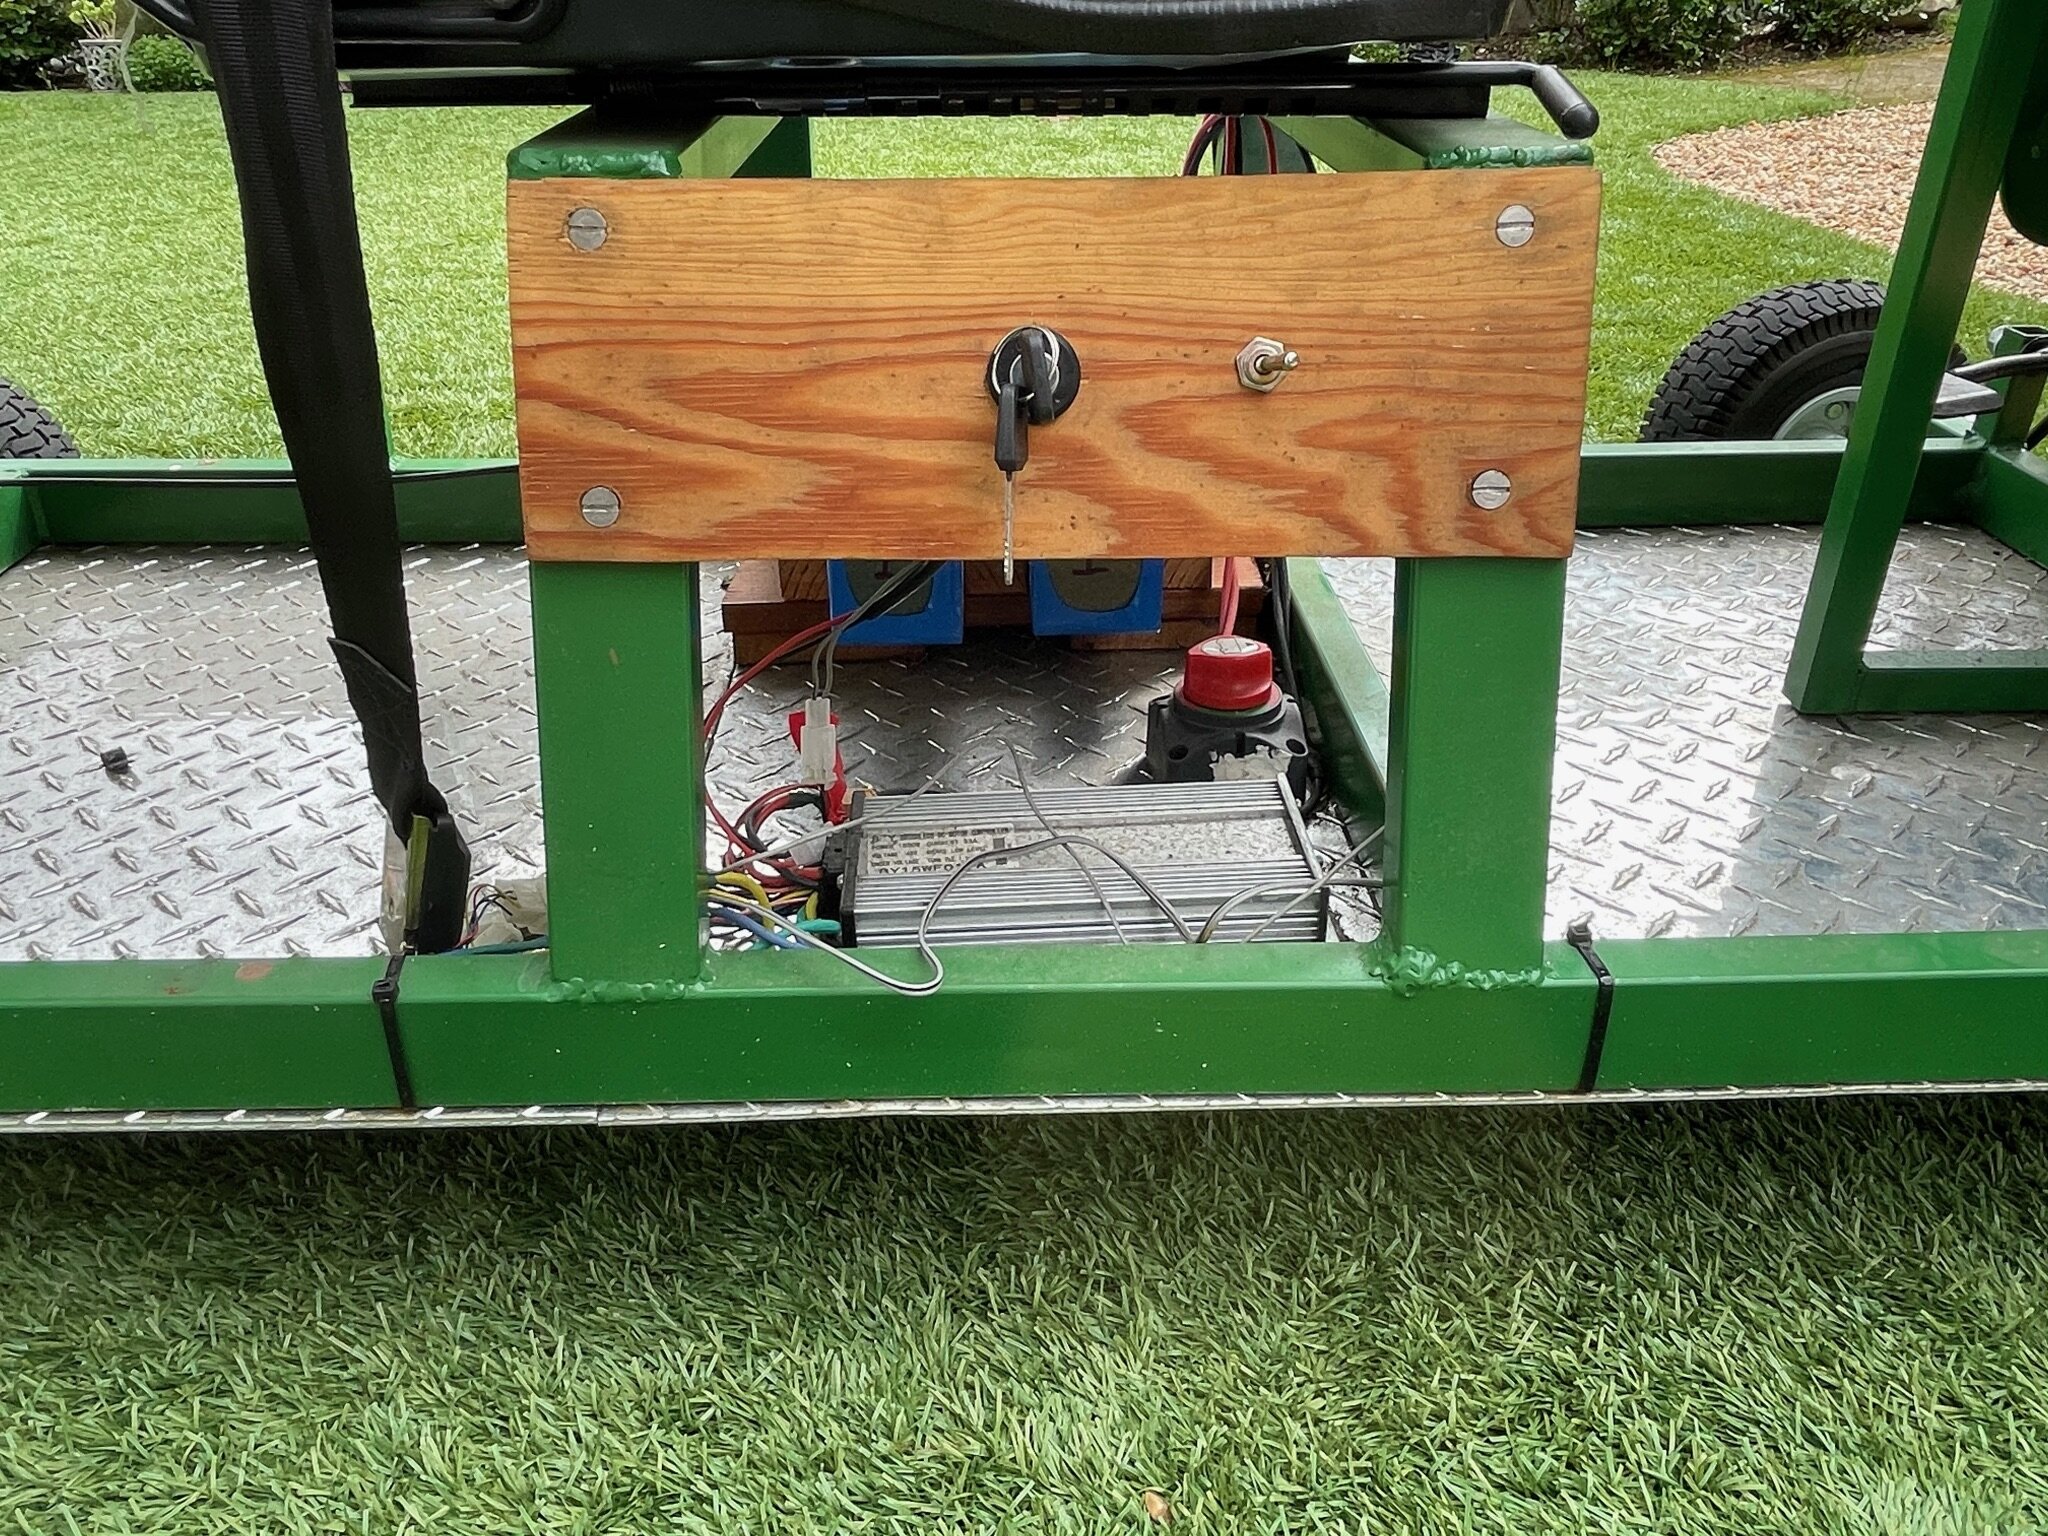
Master shut off switch, safety, long term storage
Foot controls, need to have hands available for delivery at all times
Frame and Materials
Steel for everything except floor
Due to using steel, and limited power system, weight becomes concern. Use of 1/16’’ wall 1’’x2’’ rectangular tube provides good strength and weight properties
1’’ solid axle to be able to take weight of any and all cargo
heavy duty wheel hubs and rims
commercial application tires
low gearing to ensure torque and mechanical speed limitation
Main Frame
By default, this chassis would be long, so as to accommodate the area dedicated to cargo. The wheelbase would not be a concern, based on experience from the Desk Kart and other similar projects, this can be easily u-turned in a tight space, or at the very worst, 3-point turn with the use of the built in reverse. Here I am welding the corner fully, and by the need for a step ladder, you can see that the six foot chassis length will make this one of the largest and heaviest vehicles I have had the opportunity to participate building from scratch.
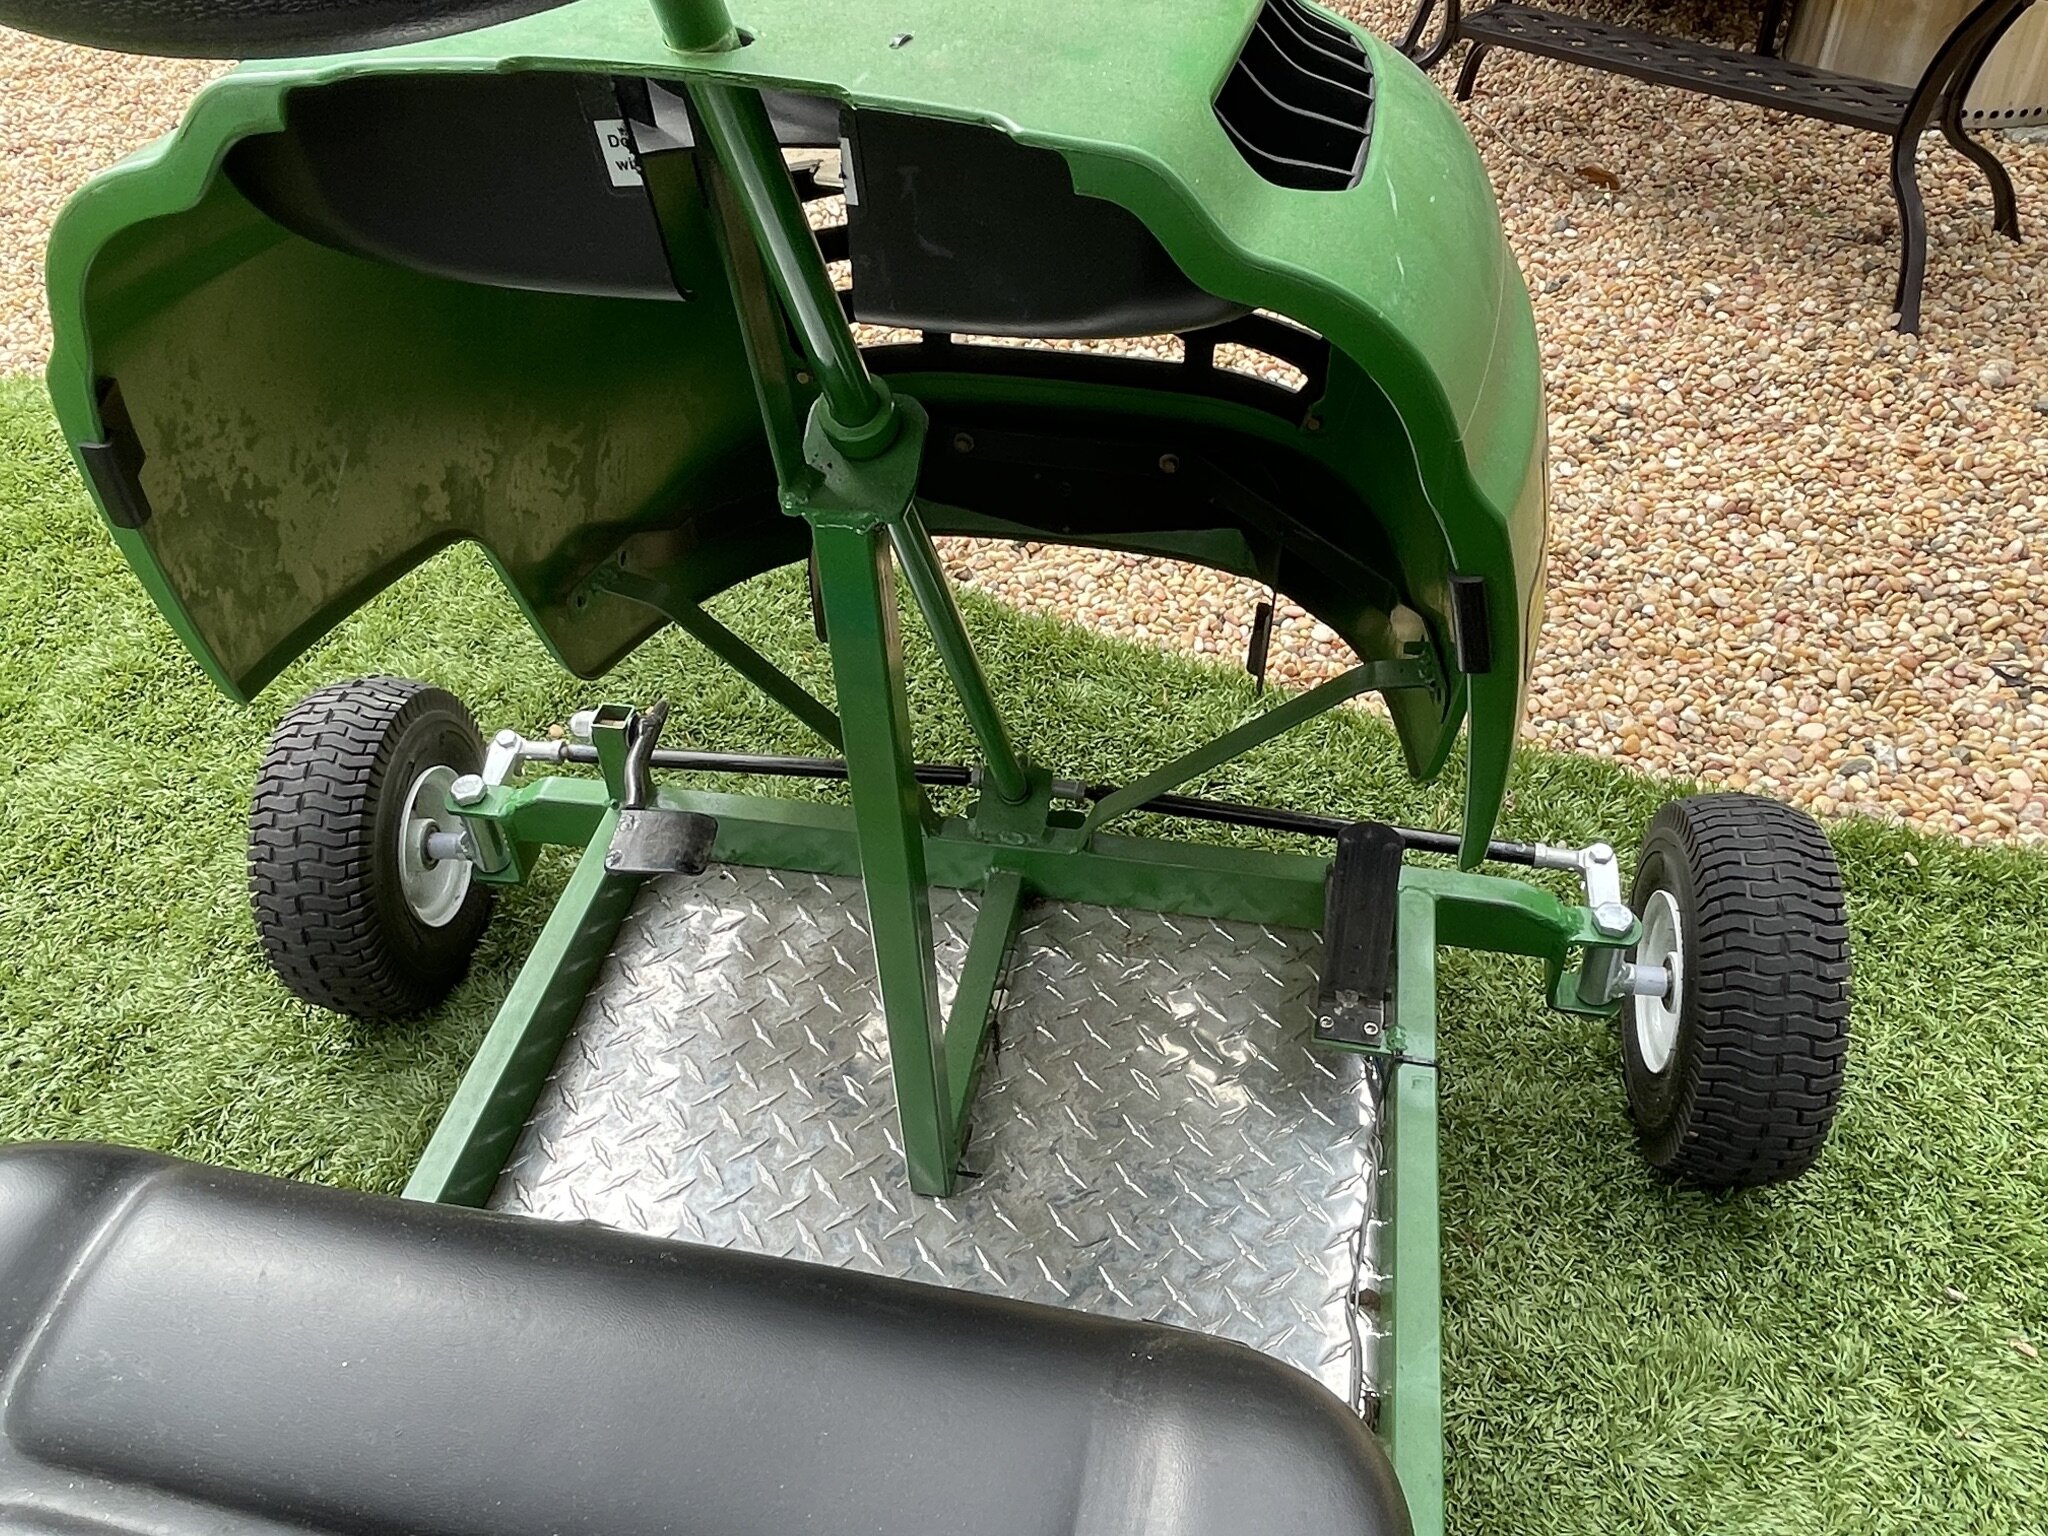
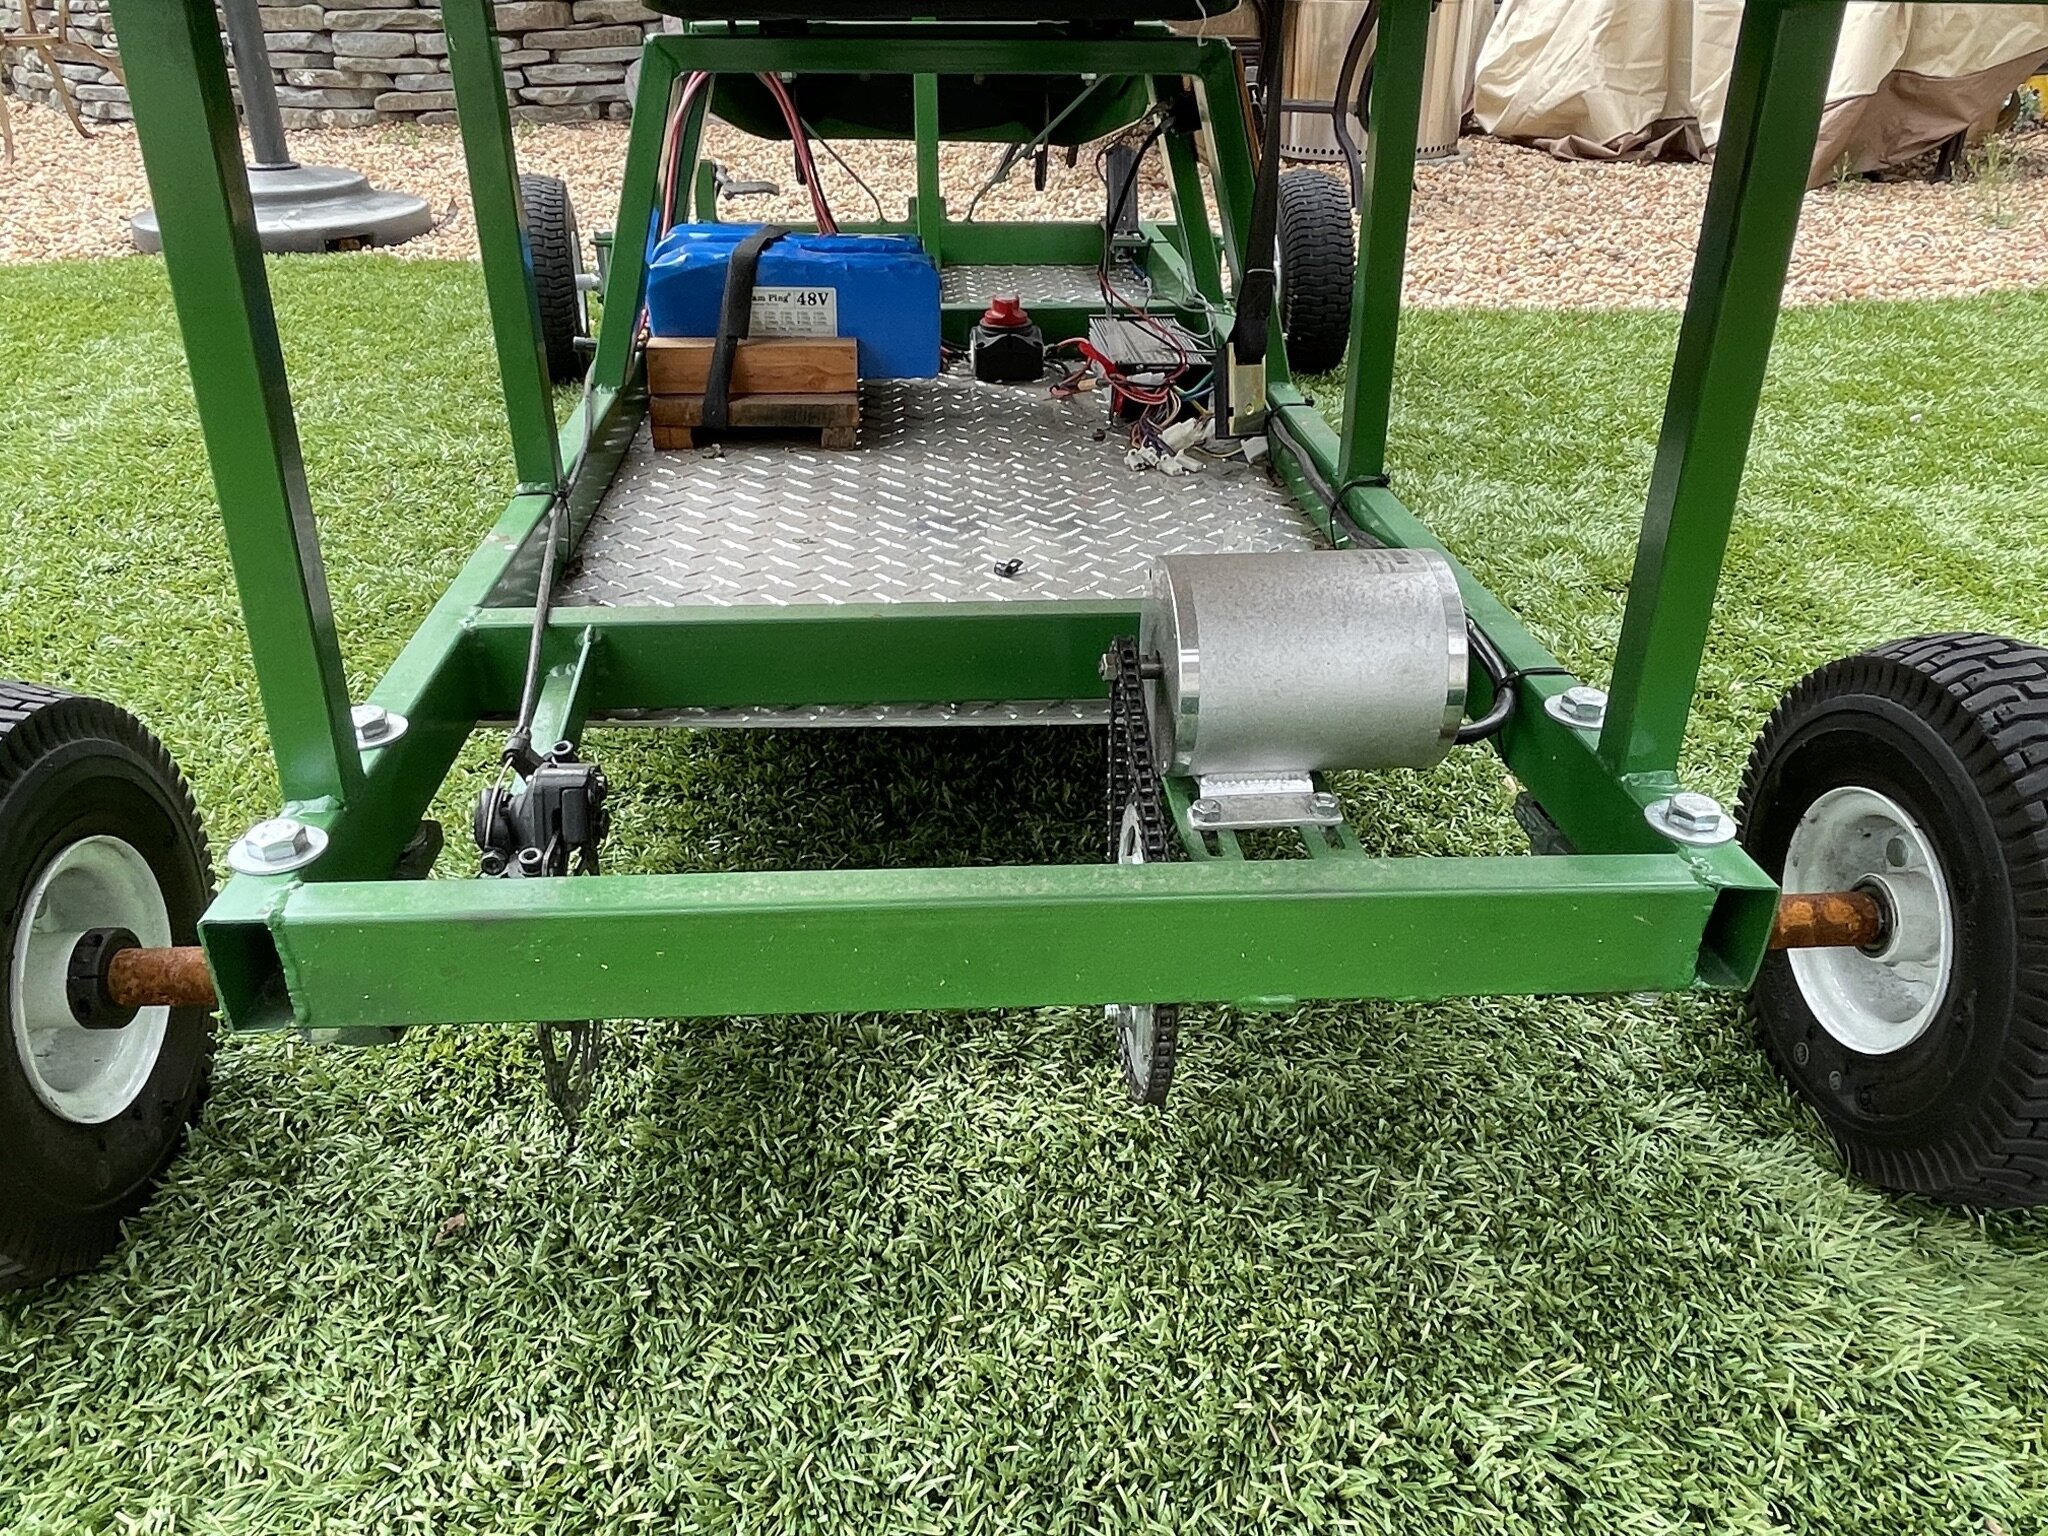
The two front wheels are attached. You may ask why the front wheels have been spaced out as far as they have. This is in an effort to achieve a slightly wider wheelbase to make up for the unusually greater than normal ride height. The reason we have to be so high in the first place is due to the curb-driveway-ramps in our town. The curb is not square, it is a continuous smooth but steep curb, and this is what cars drive up to get into the driveway. It is important that this vehicle is capable of approaching the curb at any angle, and at such a long wheelbase, a tall ride height is needed. Javid and I agreed that unlike the Desk Kart, there are no heavy lead acid batteries to artificially lower the CG of the whole vehicle. The solution is larger track width.
Our client wanted to use an industrial seat meant for extended periods of time seated, this was a fantastic idea, and he settled for this forklift seat. It is well padded, has a seat belt, back rest adjustability and forward-backward rails for leg adjustment. Overall this was the best choice, fit the budget, and was easy to incorporate by welding some trapezoidal hoops to bolt the seat to. From here on out, ergonomics and placement around this now important as seat position was key. The client was bout the same height as my sister, and as a result, we would use her as a stand in whenever we decided on placement of steering wheel, pedals etc.
A majority of the parts have been bolted on, and is ready for its initial drive to make sure the rotating portion of the vehicle is trouble free.
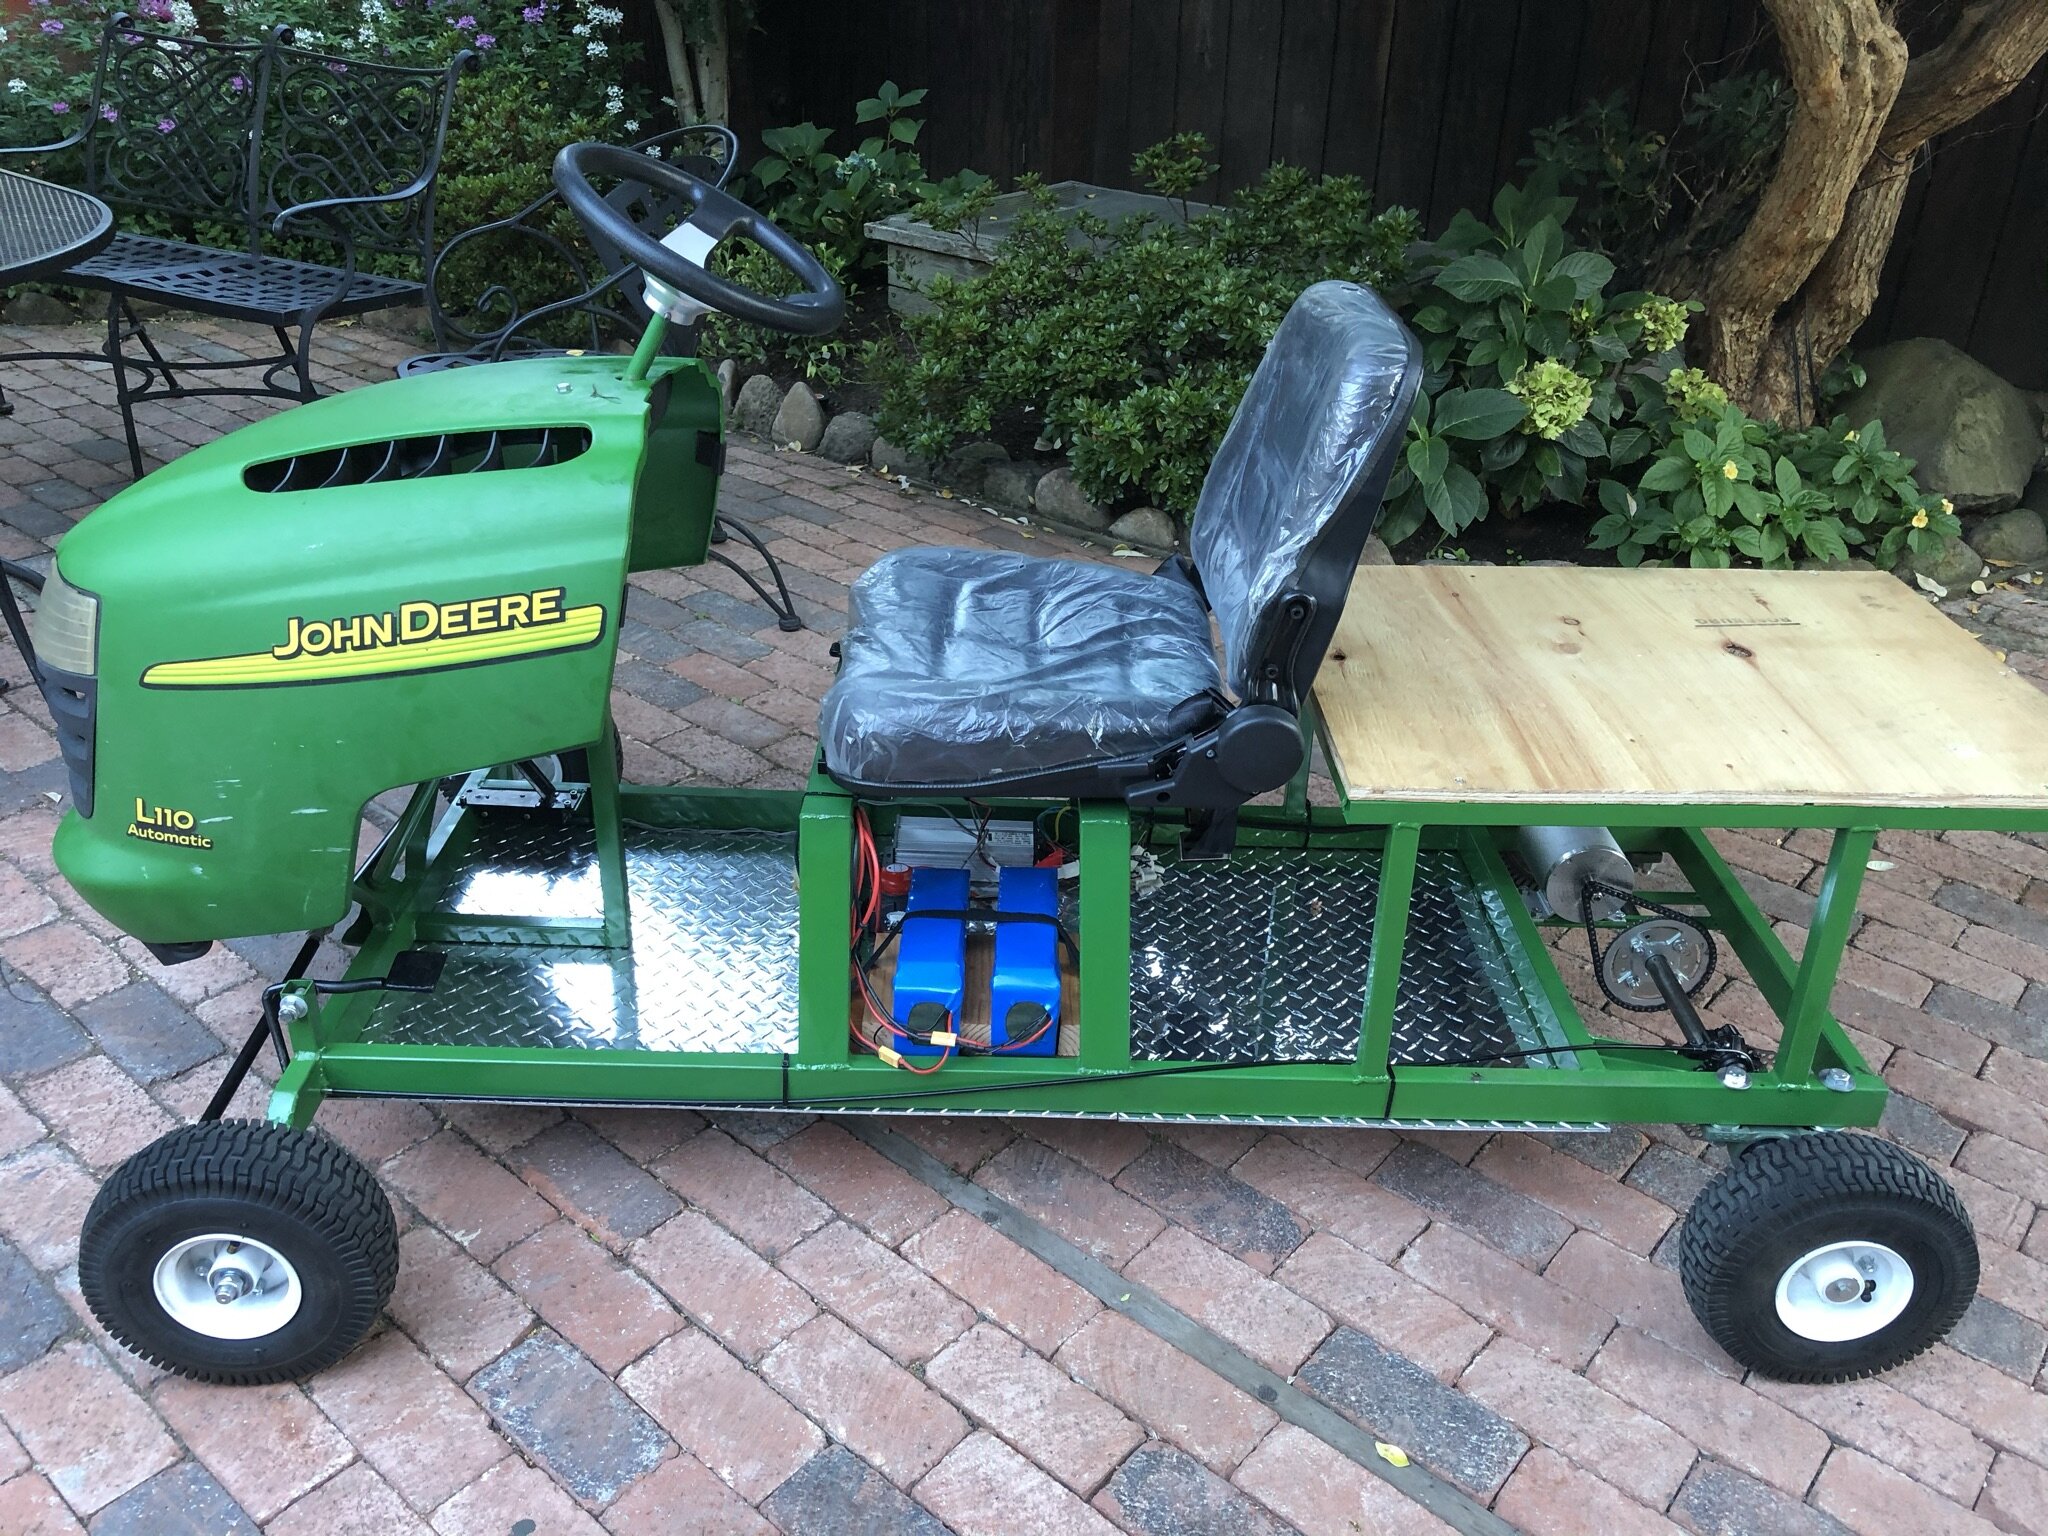
Above, the motor has been mounted down on slotted mounting holes, to allow for chain tension adjustment. The motor was intentionally mounted close to the rear axle, this is in an effort to use less chain, and therefore reduce the possible amount of chain stretch. A heavy duty bike break caliper was mounted along with large a break disk for the best breaking power. The pedal connection to the break caliper is much like the one used on my Desk Kart, having fiddled with that design in the past, I was able to smoothly incorporate it into this project.
Javid was in charge of electronics, and he did a very clean job of routing the high current silicone wire through the master disconnect switch. He welded mounts for the electric foot throttle on the right side where my sister found it to be most comfortable. He also made a splitter to allow 2 batteries to be run at once, and a tray to hold them during use and easy access to remove when charging or for security.
Here is a quick clip of the kart being driven for the first time. The 25 mph top speed was calculated under ideal conditions, not accounting for friction, air resistance, variance in advertised RPM etc. Despite this result we clocked 25 mph on radar and met the residential top speed. this matching in speed is likely to inflated tires being slightly larger than the advertised 10’’, and the motor having an under-advertised top rpm. Weight of the driver being all the way forward did create concerns of traction, but discovered that with the weight of the bed without any cargo, this no longer is an issue. This clip also displays the ergonomics of the vehicle, I have legs longer than our clients, and as a result they are bent up slightly. Aside from this, my back is straight, I am not leaning forward or am hunched over, I could drive this for long periods of time.
At this point, we were about two thirds through our 2 month allotted time frame
The Bed, and Finishing Touches.
Our client wanted to make the front of the vehicle less plain, and found a front cover piece from a John Deere lawn tractor. The incorporation of this created the desire for a John Deere green to be used as well. After we welded uprights to support the basic bed in the rear, we welded mounts to hold the front cover in place as well.
With all the small parts painted, it was ready for assembly. Here is the finished product, ready to drive up to 40 miles, and up to 500lb (tested) .The bed in the back may seem a little plain, but our client wanted to make a solution specific to his needs, so we left a plywood surface that would be easy to attach to .
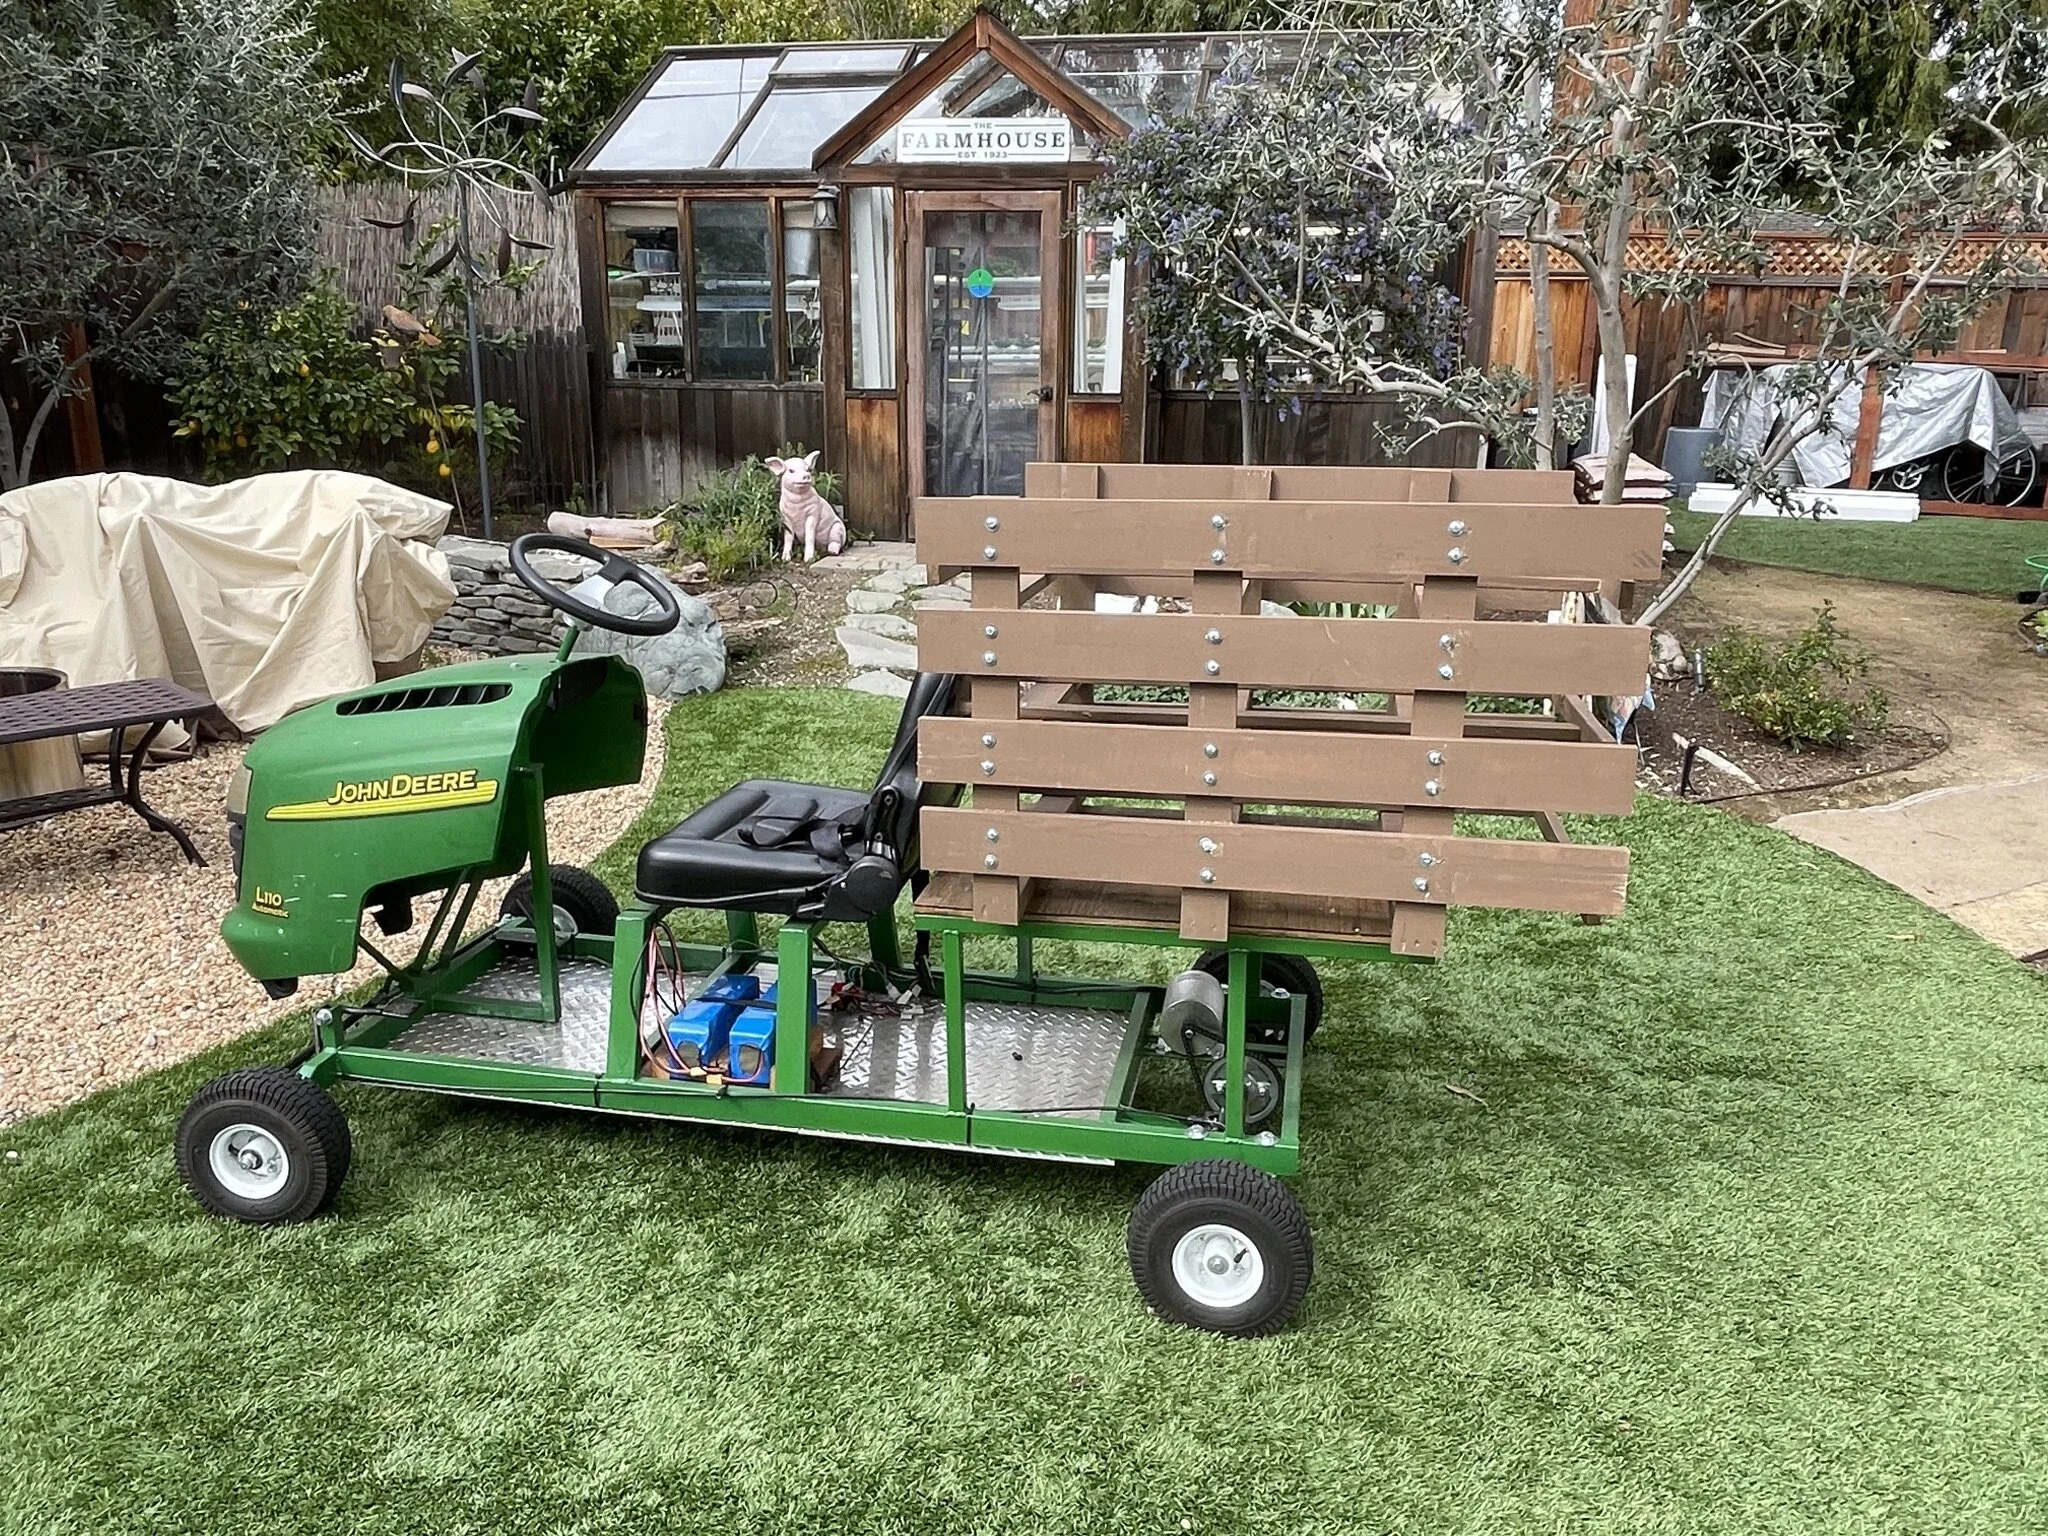
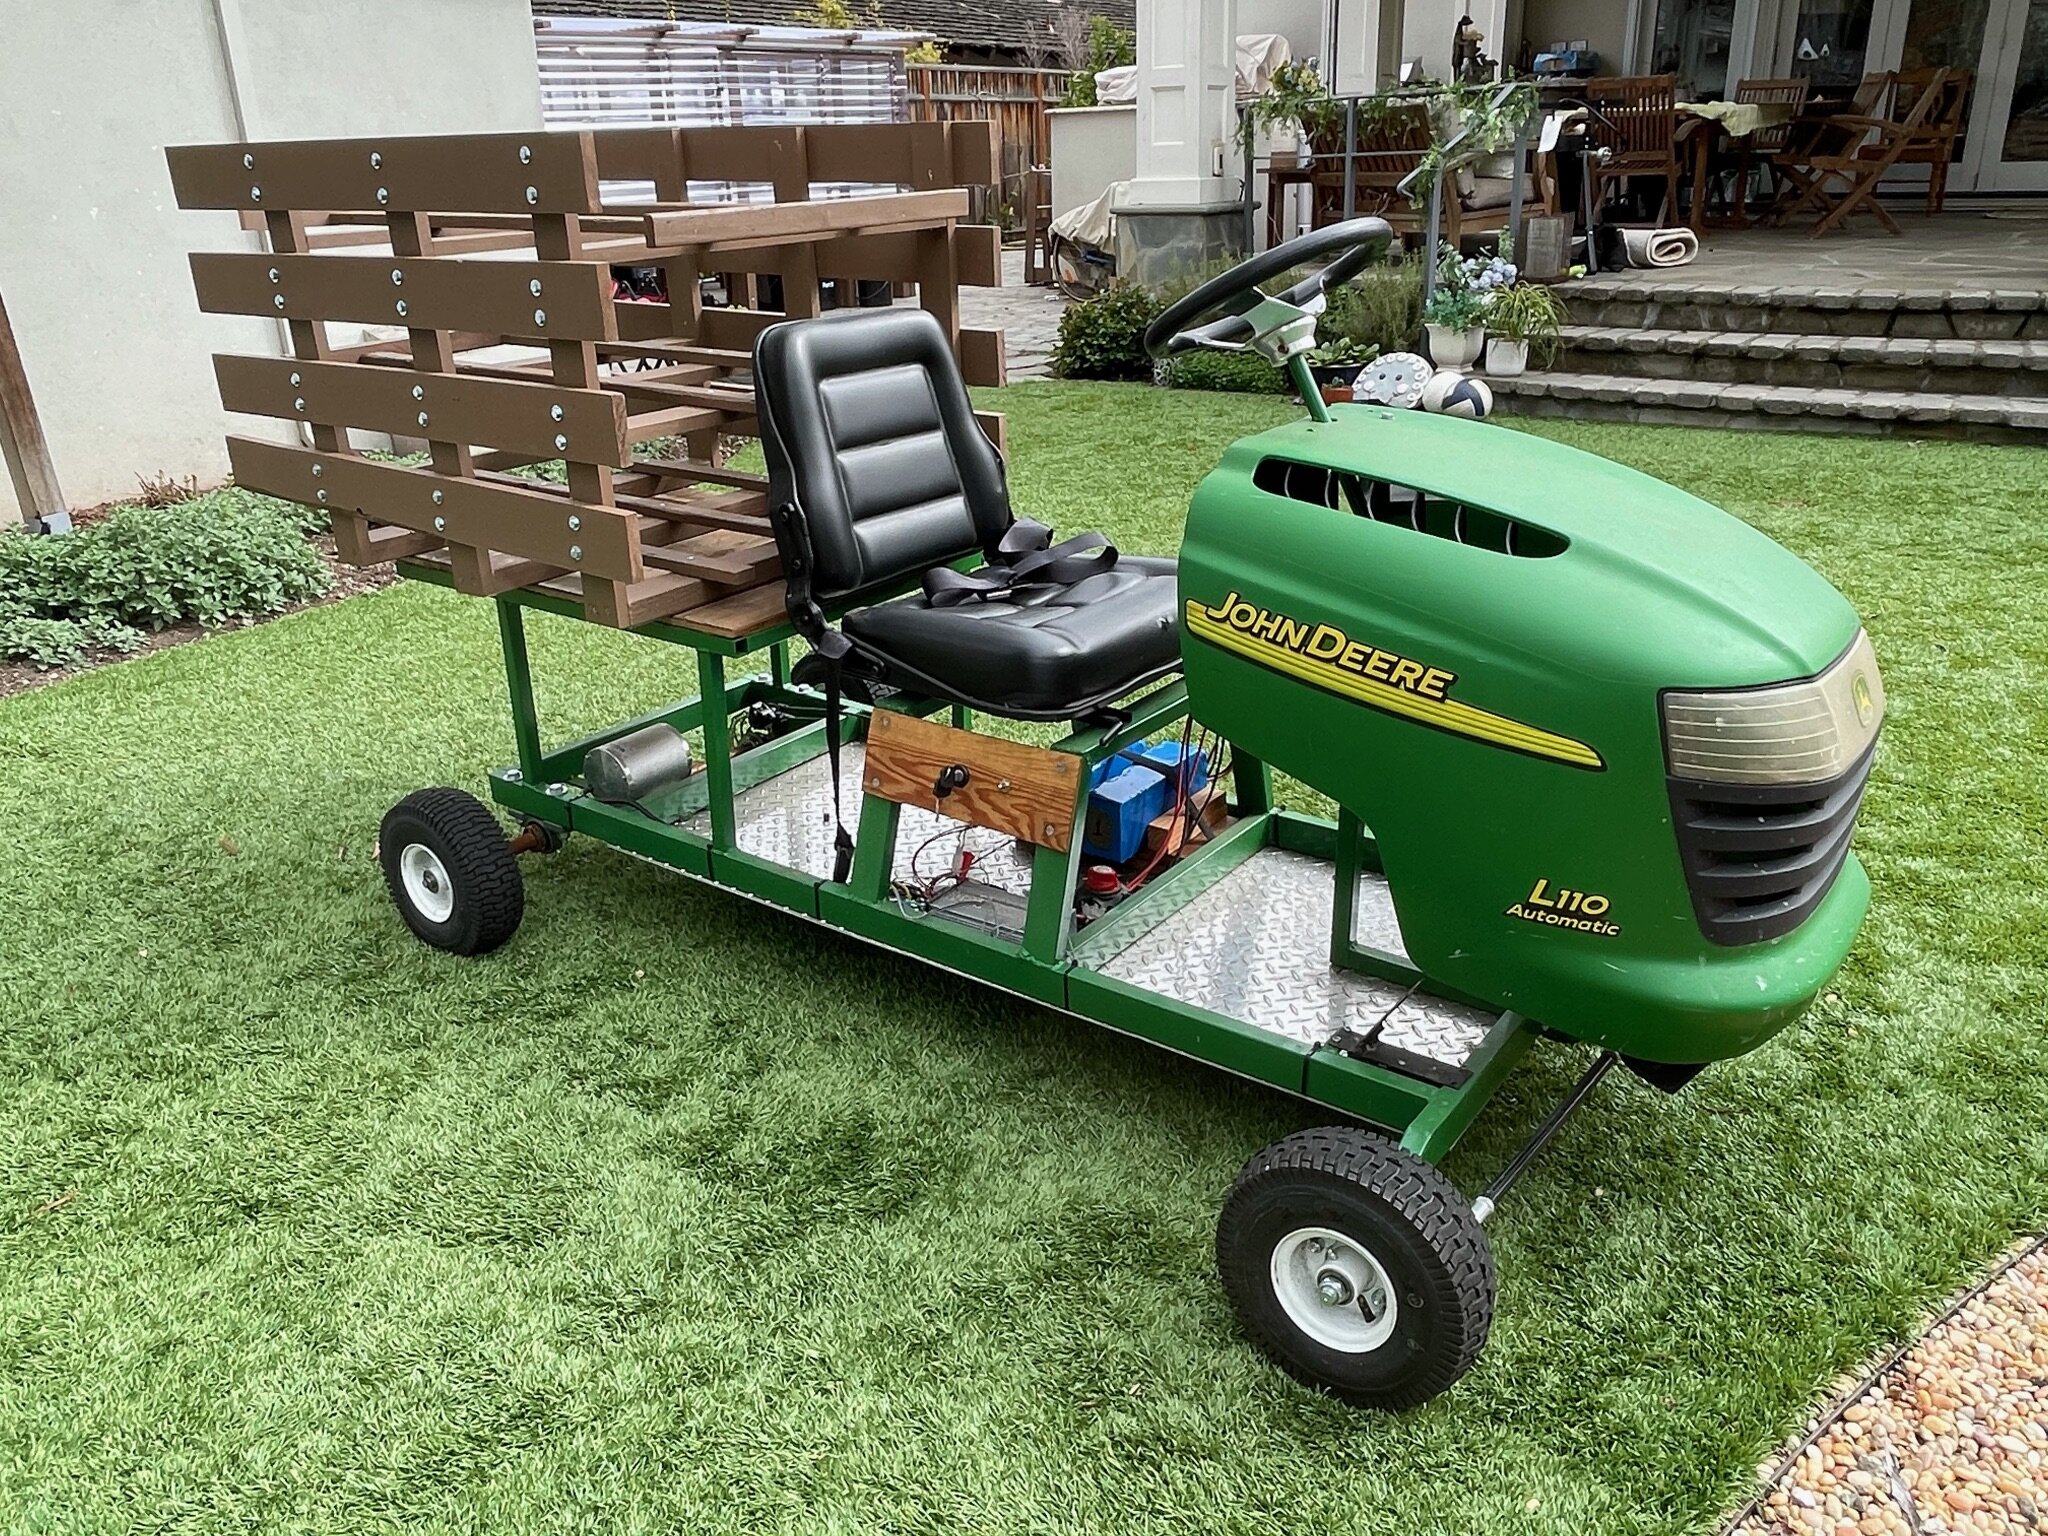
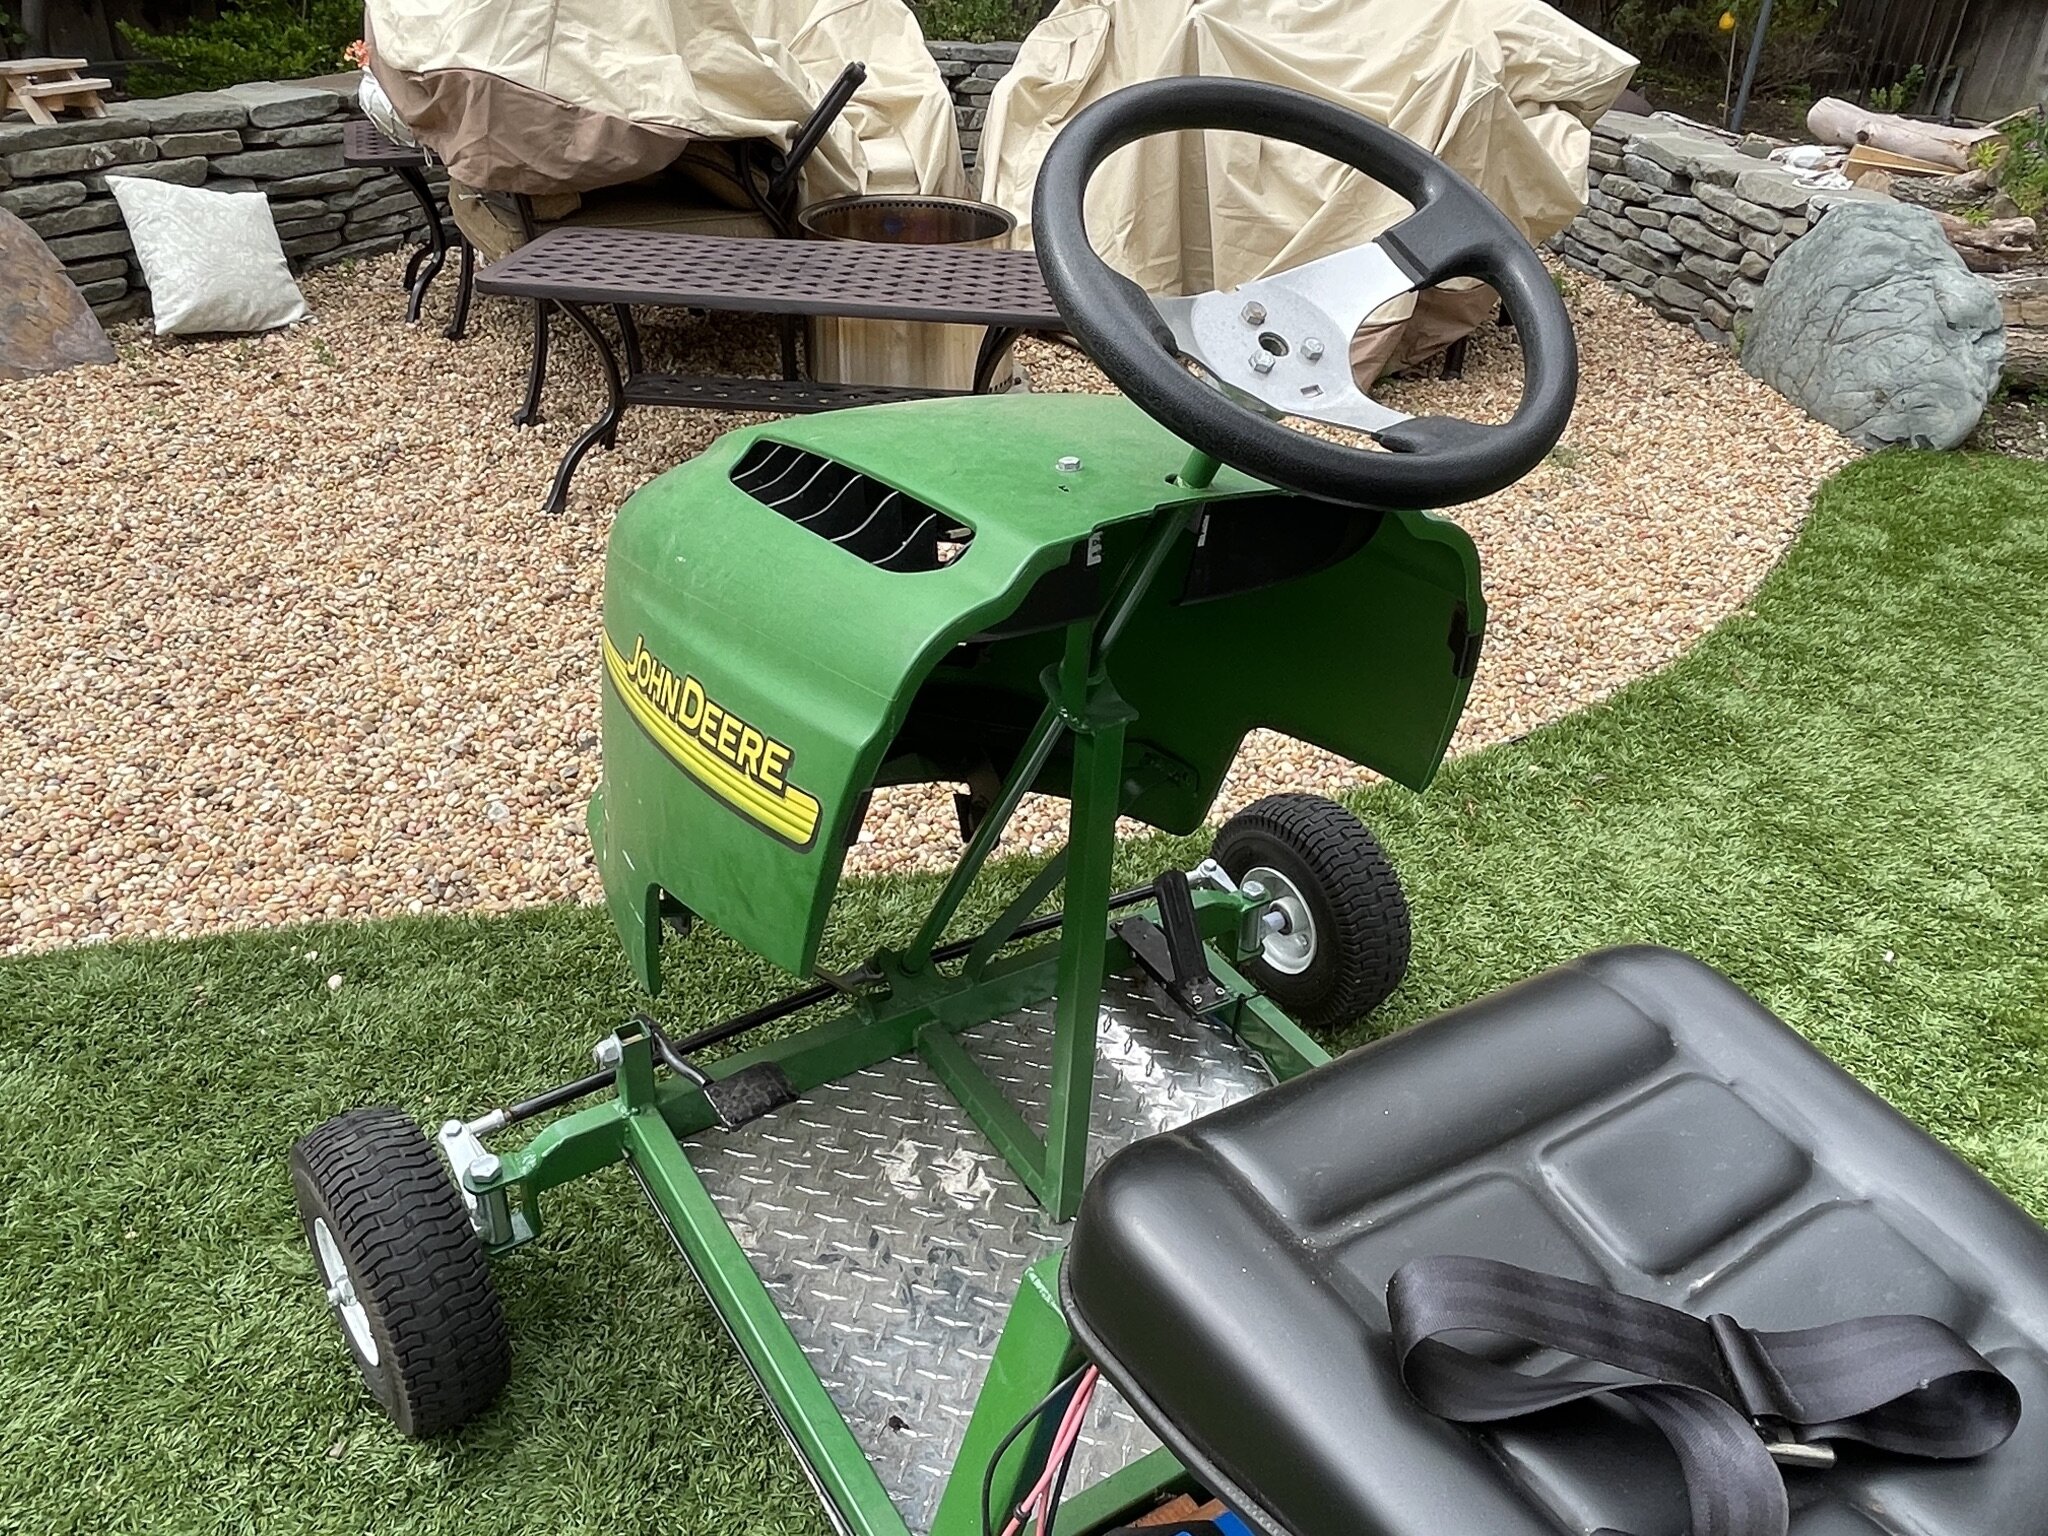
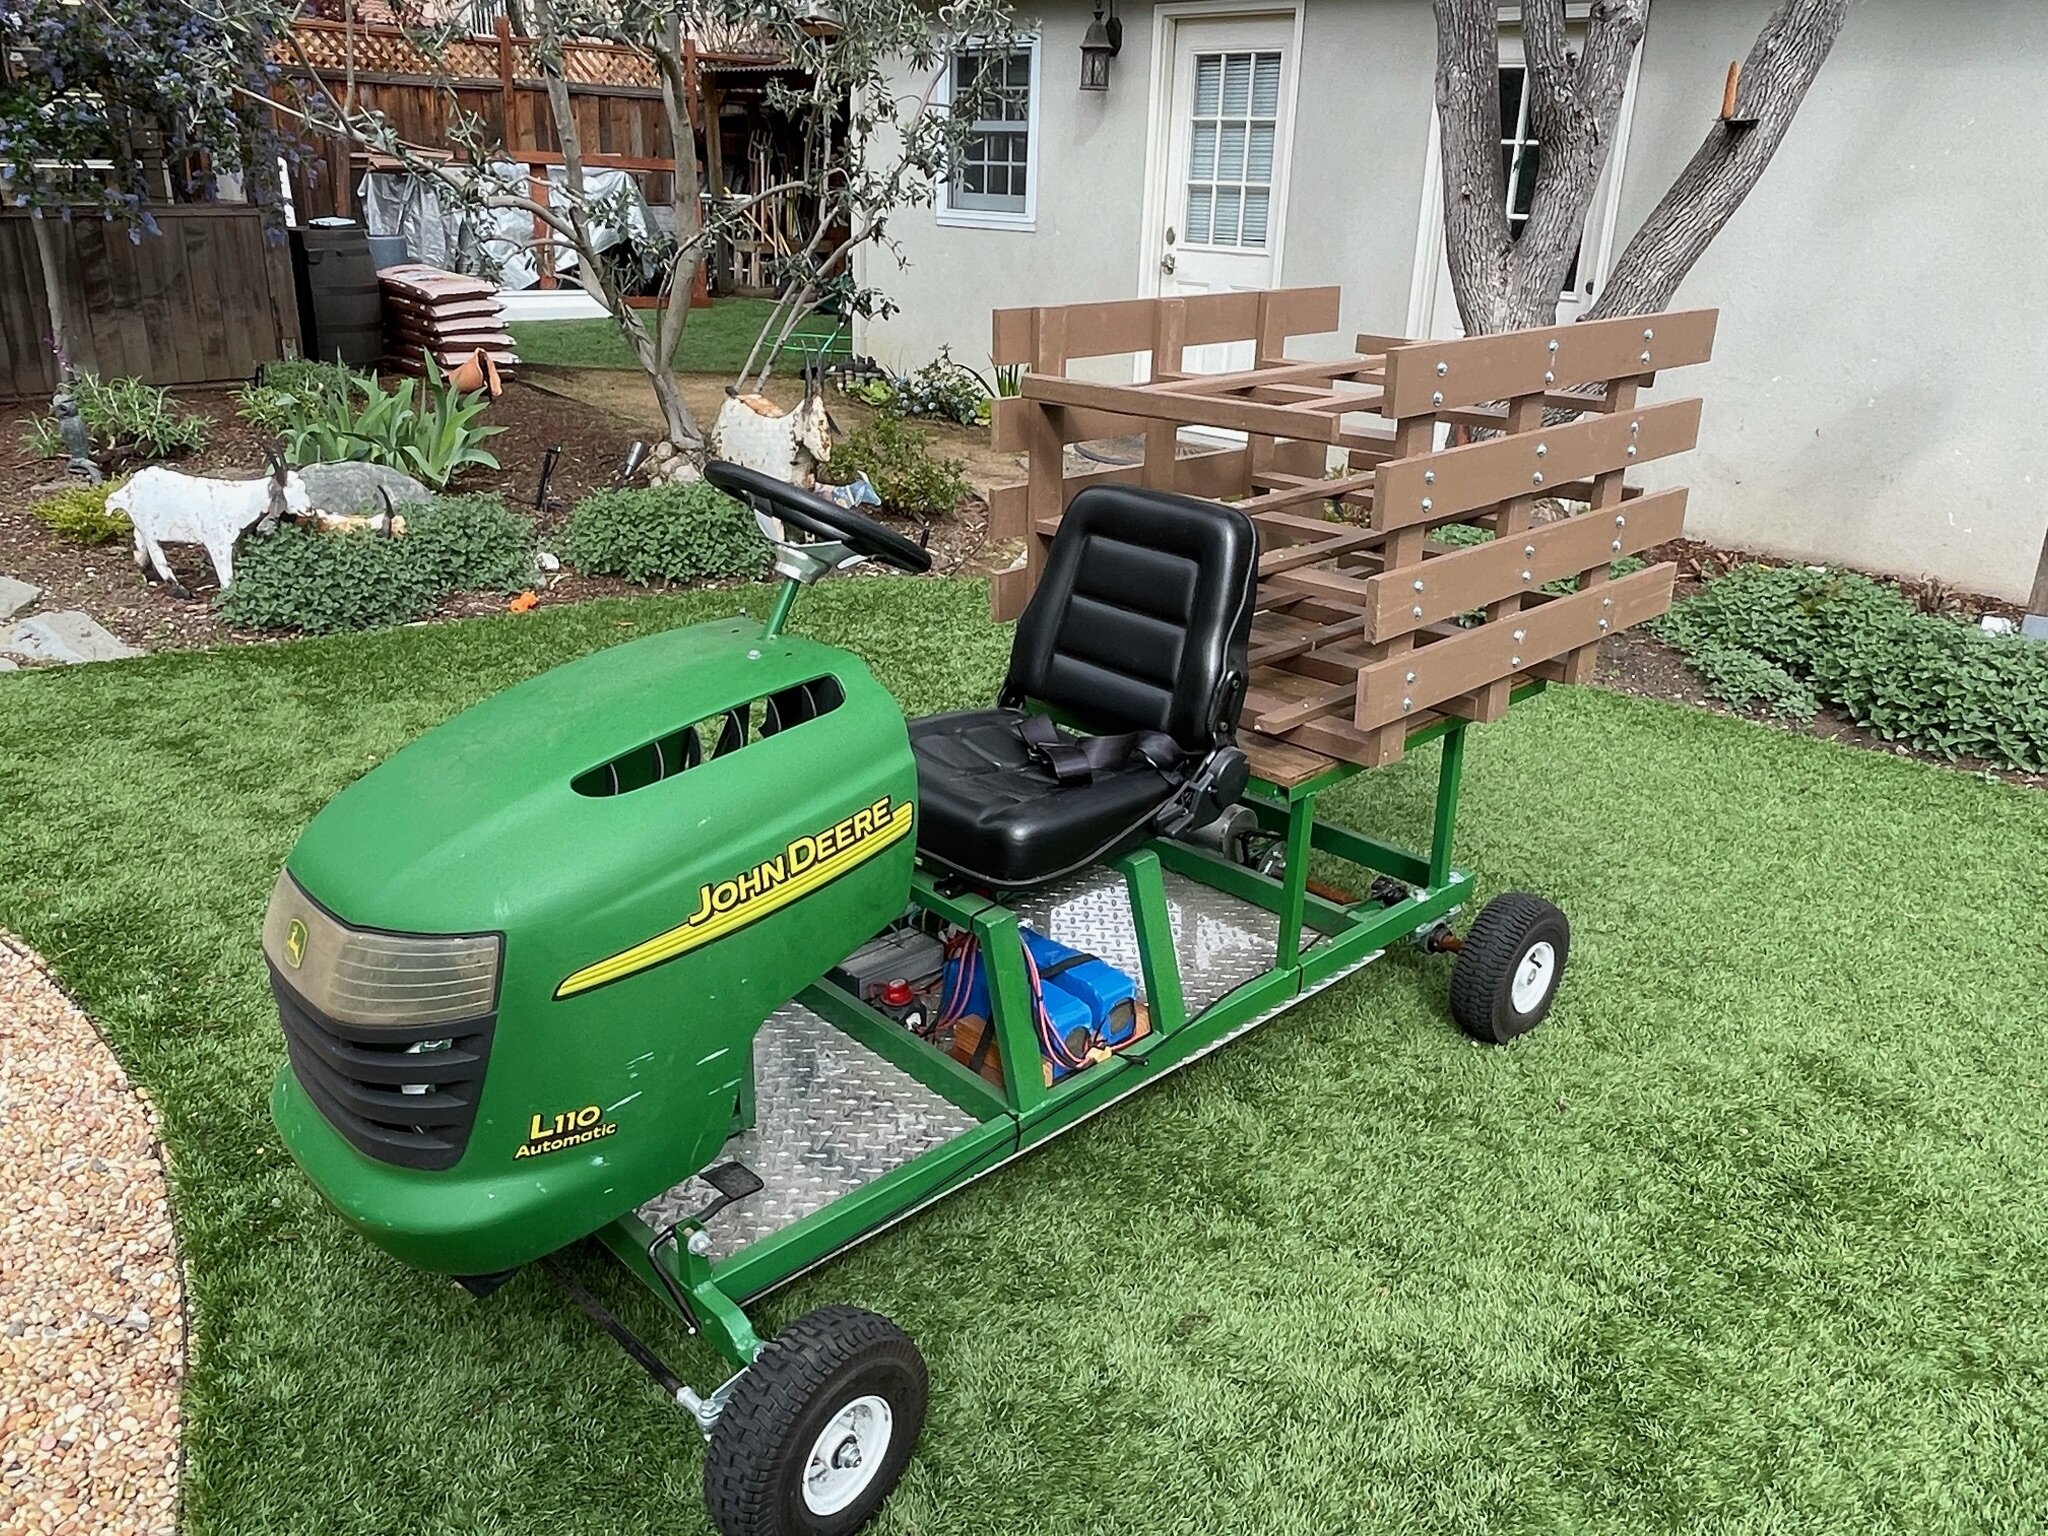
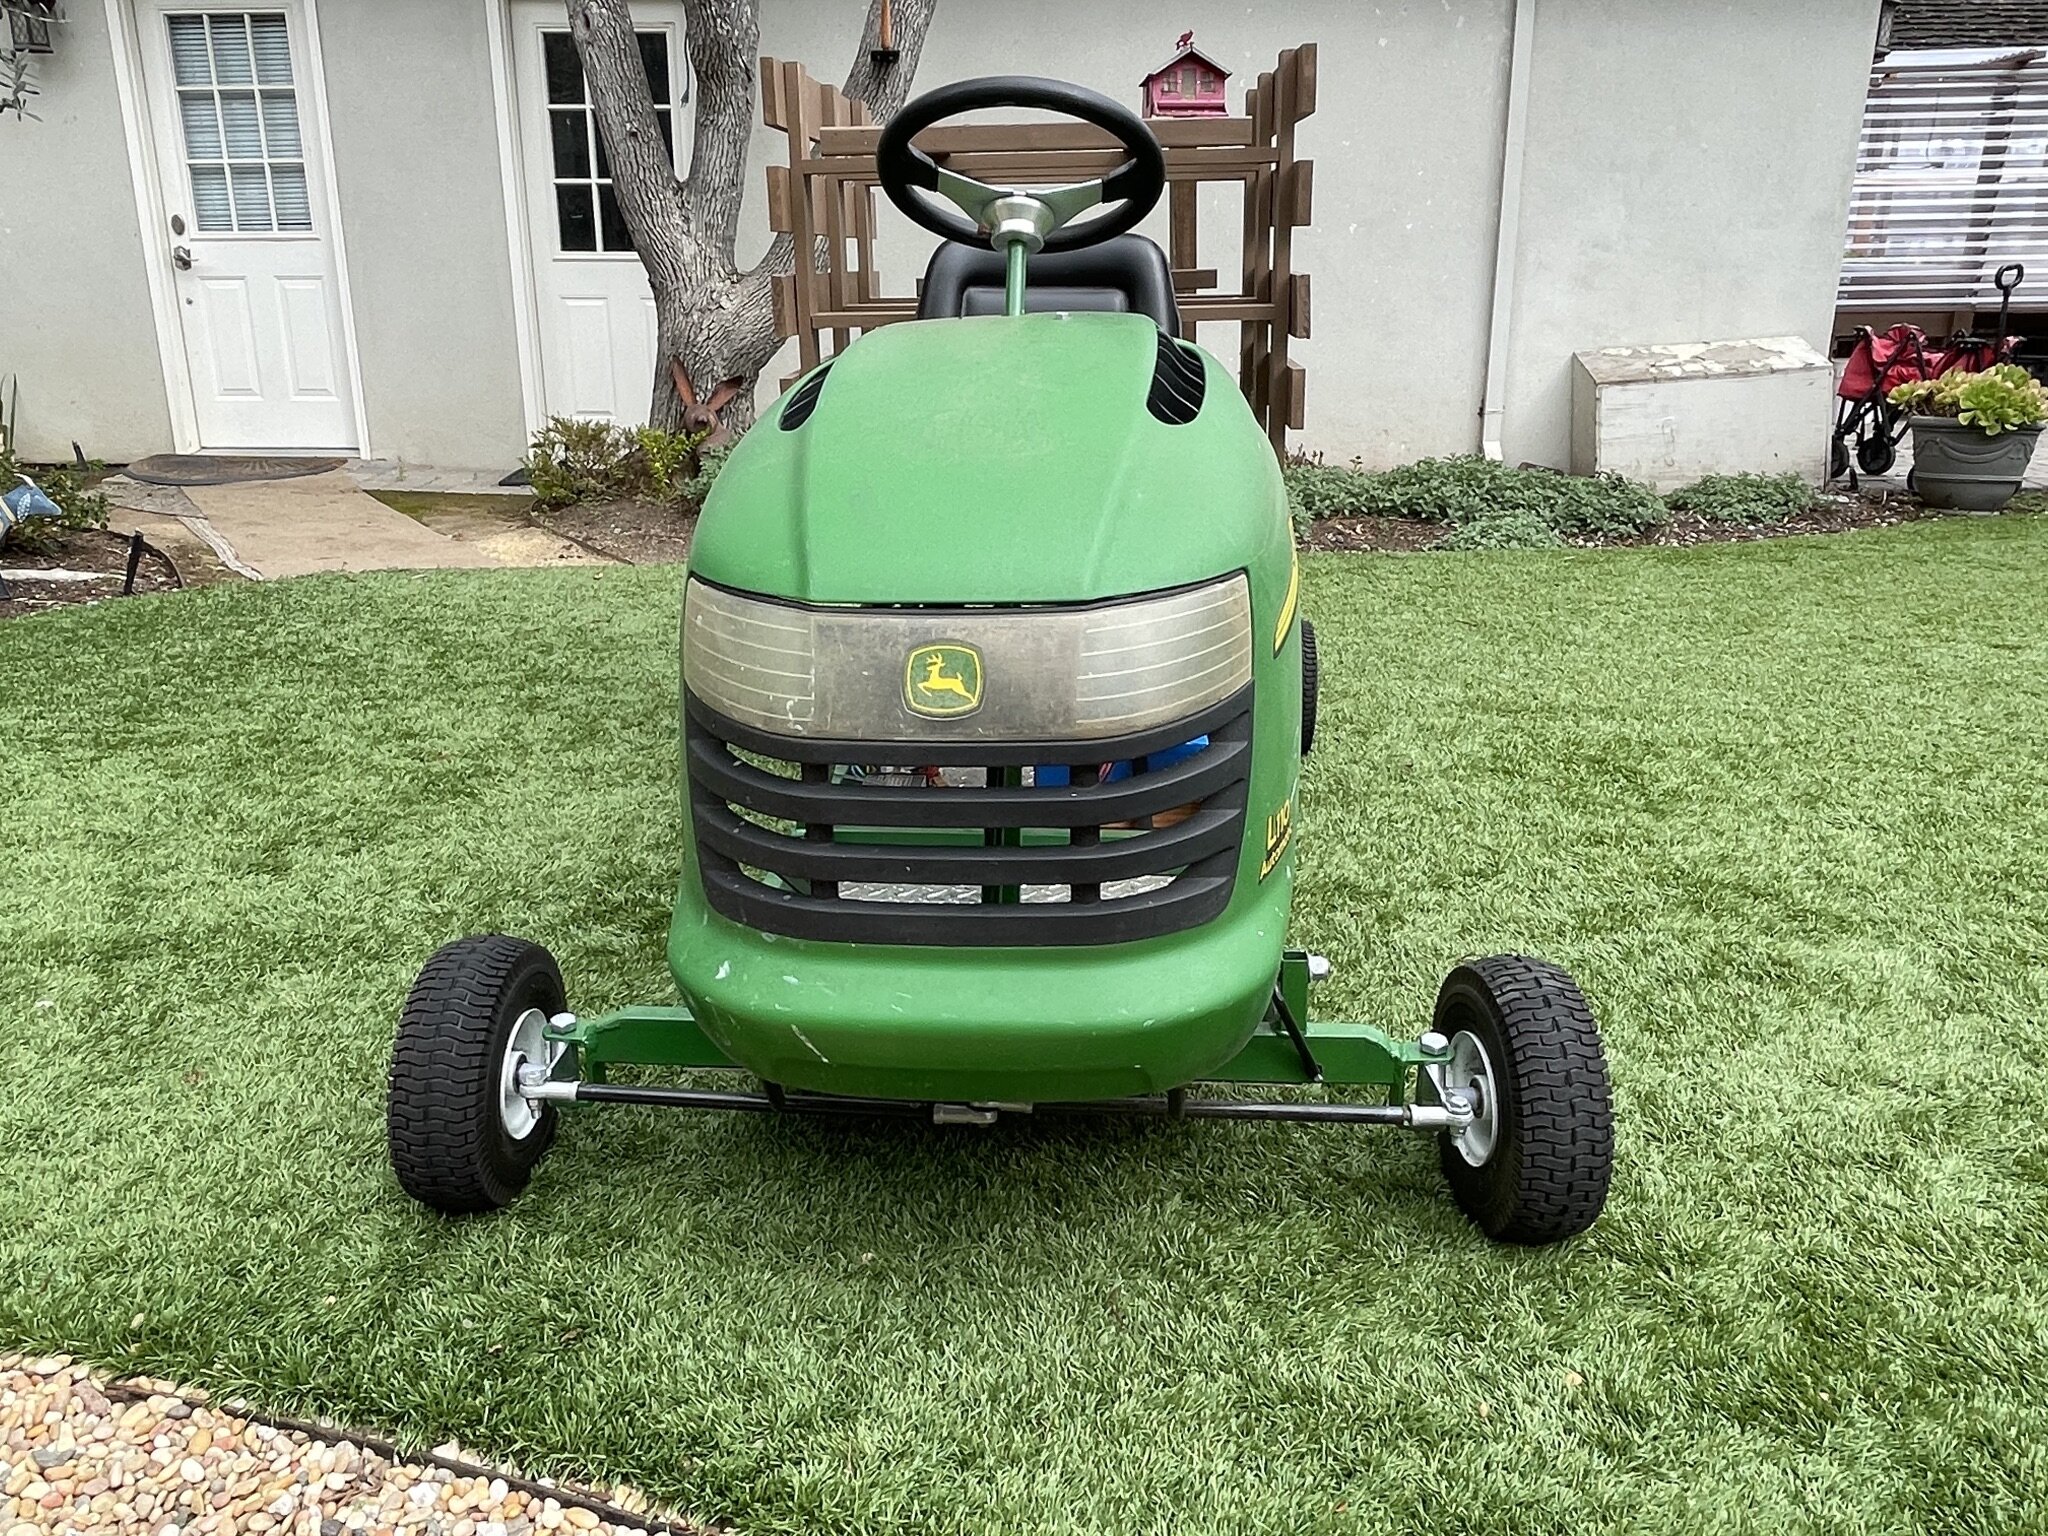
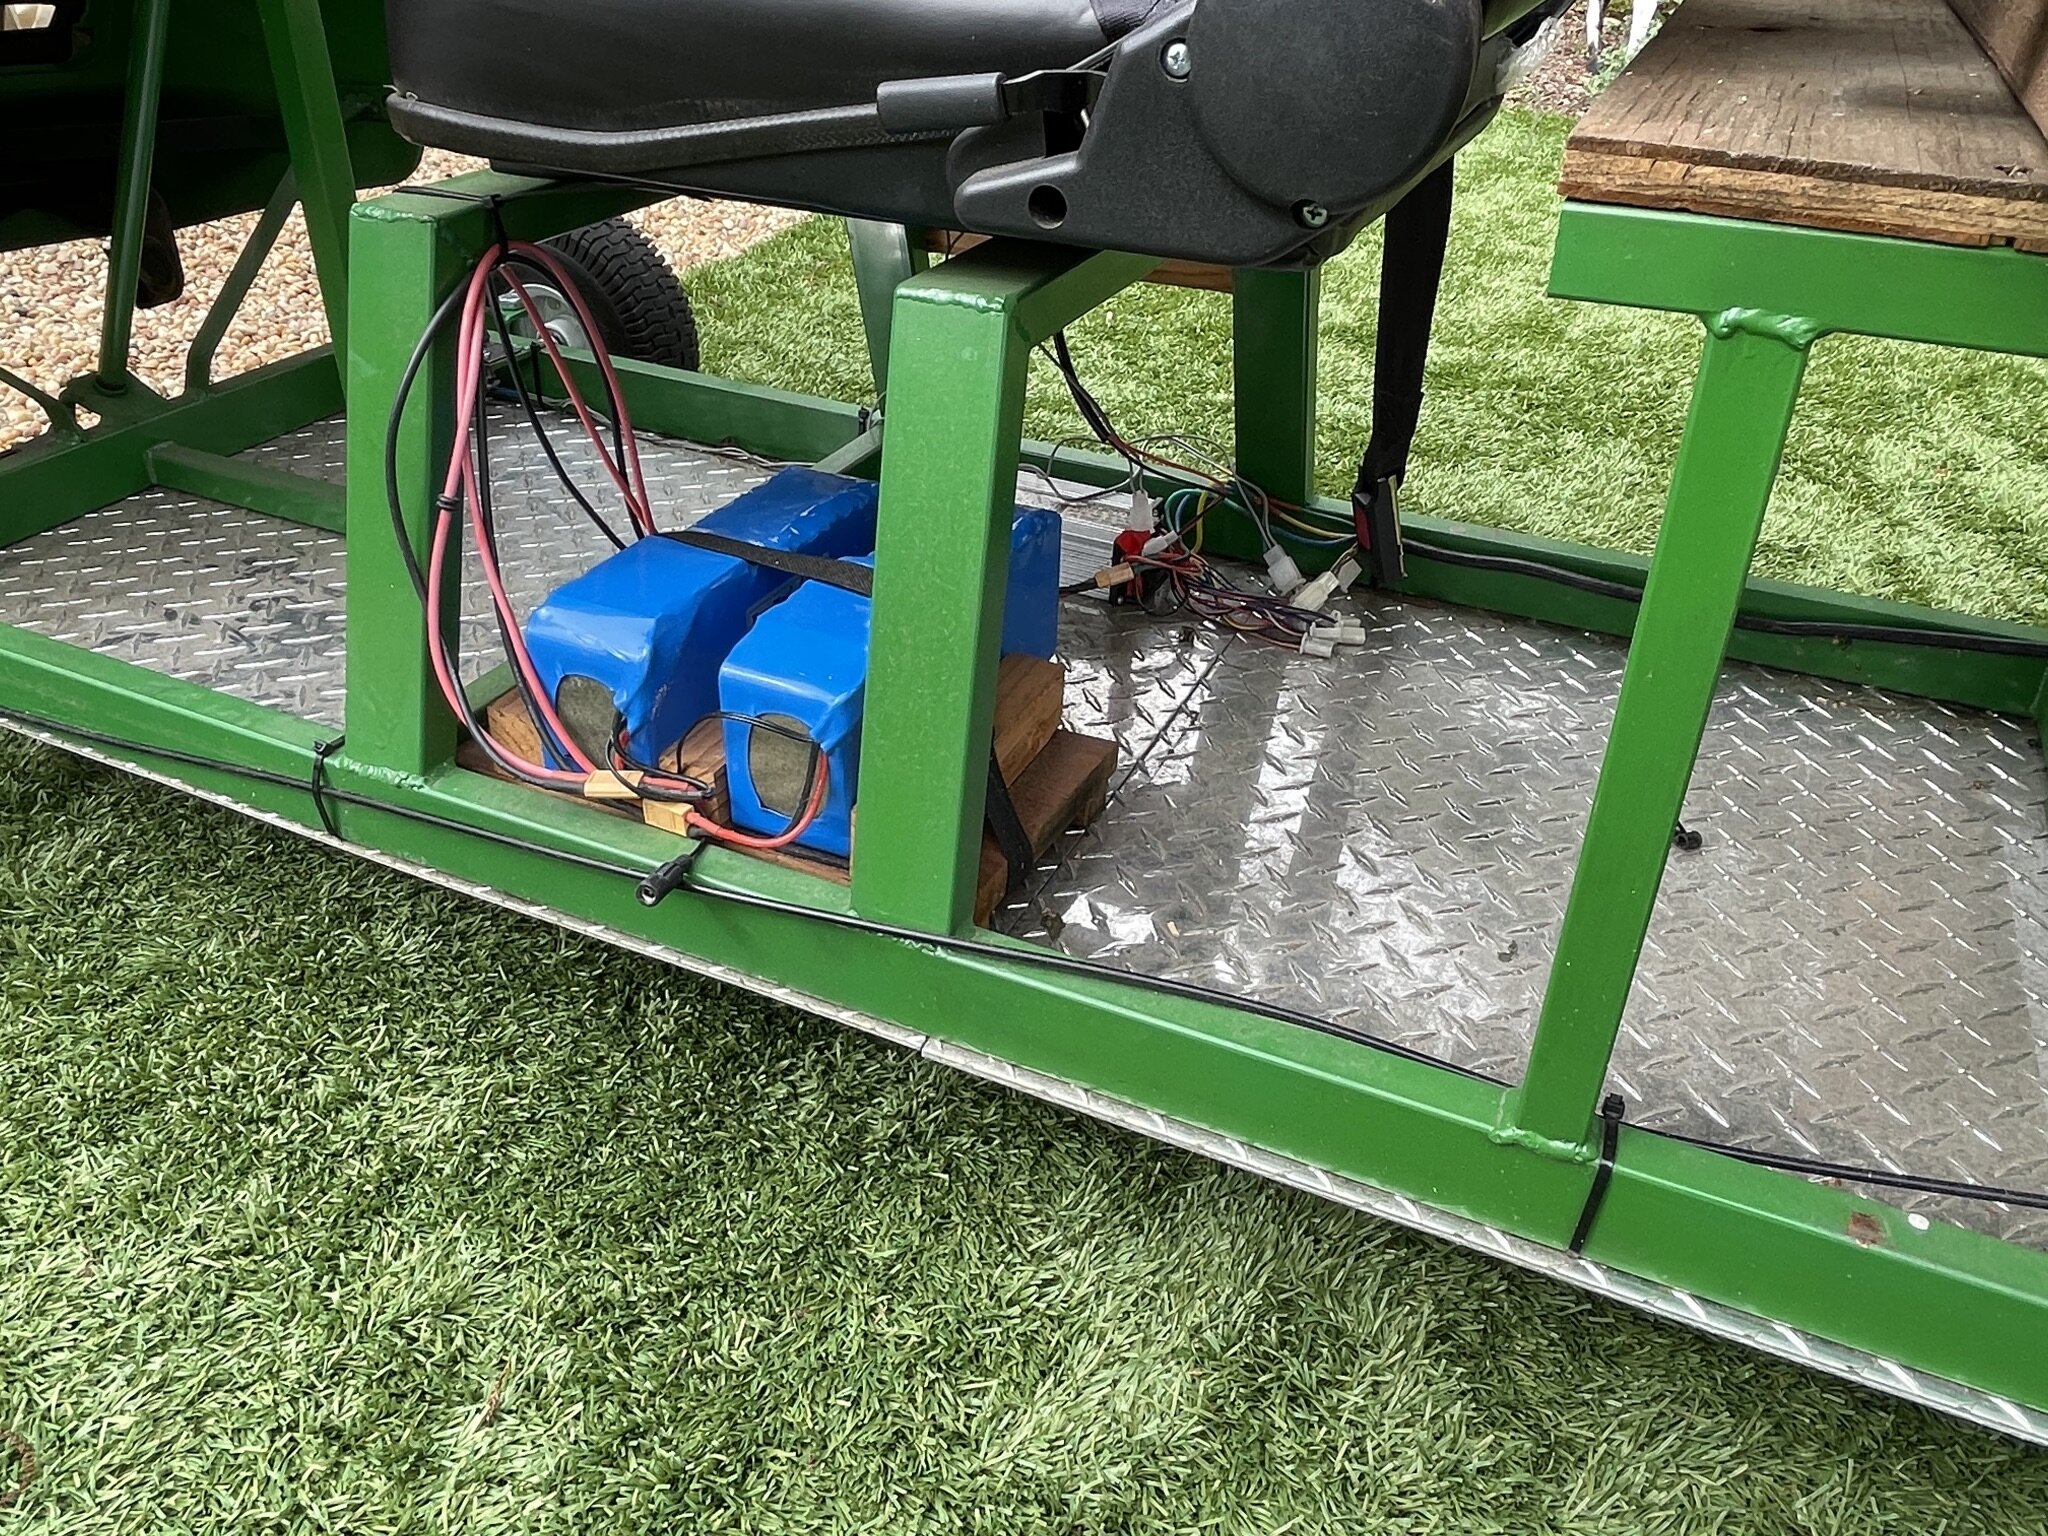
As we approach the one year mark since this was built, we asked the client if he could send us some pictures of the Delivery Vehicle in its current state. He has since added his own high volume system to store produce while driving, and aside from evidence of passing time, it looks how it was when we handed our final product off to him.
Findings
This is one of the few electric vehicles I have built for a client, and the only with a utilitarian purpose, all of my other projects have been for the pleasure of driving and getting thumbs up from the sidewalk. My involvement in small electric vehicles is the only reason I was able to even think about taking on such a project. Us of mechanisms from past projects and integrating them into this project meant there were fewer head aches and moments of feeling stuck. I could only which that I had the knowledge and technology of the same level just three years prior, and completing this project only adds to my metaphorical tool belt of knowledge. This was also the first project I directly collaborated on, prior to this I only had suggestions, but ultimately it was up to me. Javid’s work with electronics and power systems for over 5 years, and his input and suggestions in the electronics and frame solutions were ideas I simply would have never thought of. This is the disadvantage having done projects alone my way in the past, and simply sticking to that way. If you would like to see some of Javids work, he can be found at www.javidalasti.com


